
Buy Lag Screws Online
We offer a large assortment of lag screws for different applications in our online shop.
Go to eShopFastening Technology
Learn everything you need to know about lag screws – what they are, how to install them, and how they differ from wood screws.
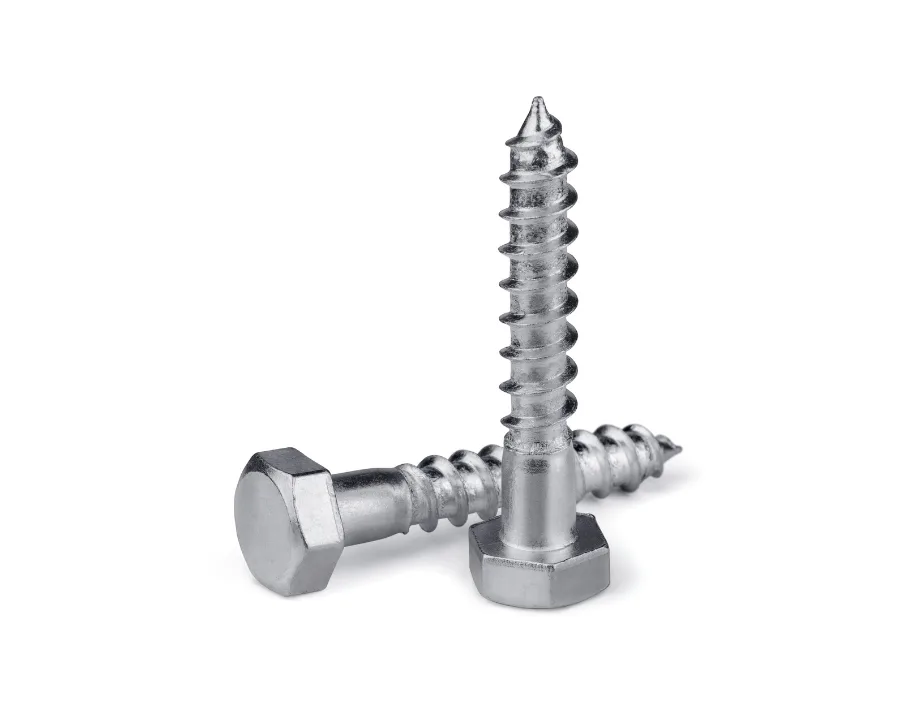
A lag screw – also referred to as a lag bolt or coach screw – is an extremely durable, high-strength type of fastener. In fact, lag screws are among the toughest types of fasteners. Most often made from steel and stainless steel, Bossard offers lag screws that are zinc-coated or hot dip galvanized. Both types of coatings provide corrosion protection.
Lag screws are only available with hex heads, which improve grip and provide excellent torque transfer when tightened with a ratcheting socket or wrench. Lag screws are much larger than typical wood, self-drilling, or sheet metal screws – at a minimum, one-inch long, and ¼-inch thick.
We offer a large assortment of lag screws for different applications in our online shop.
Go to eShopThese extremely sturdy fasteners are usually used to connect heavy lumber or other heavy materials that must bear an intense load. However, they can also be used on composite materials, stone, concrete, and certain types of metal. A common outdoor application has lag screws being used for composite decks.
So, what other differences are there between a typical wood screw and a lag screw? And more importantly, how are lag screws used?
Lag screws differ from normal wood, self-drilling, or sheet metal screws. Compared to most ordinary screws, lag screws are massive in size. Most of them are at least one inch (2.54 cm) long and ¼-inch (0.64 cm) thick.
A wood screw is a common fastener used to connect two pieces of wood. Wood screws have a coarse thread, which makes them ideal for self-starting applications. However, the thread does not run the entire length of the screw. Wood screws are used when connecting an application with only wood materials. Normal wood screws thread as they enter the wood, whereas lag screws require a hole to be drilled first.
Lag screws also use a nut to add extra strength and security to help hold things together. Used for intense load applications, lag screws can support a much heavier load than the average sheet metal or wood screw. Another difference is that lag screws are only available with hex heads, while more common wood and sheet metal screws are available in multiple head types.
Features

Features
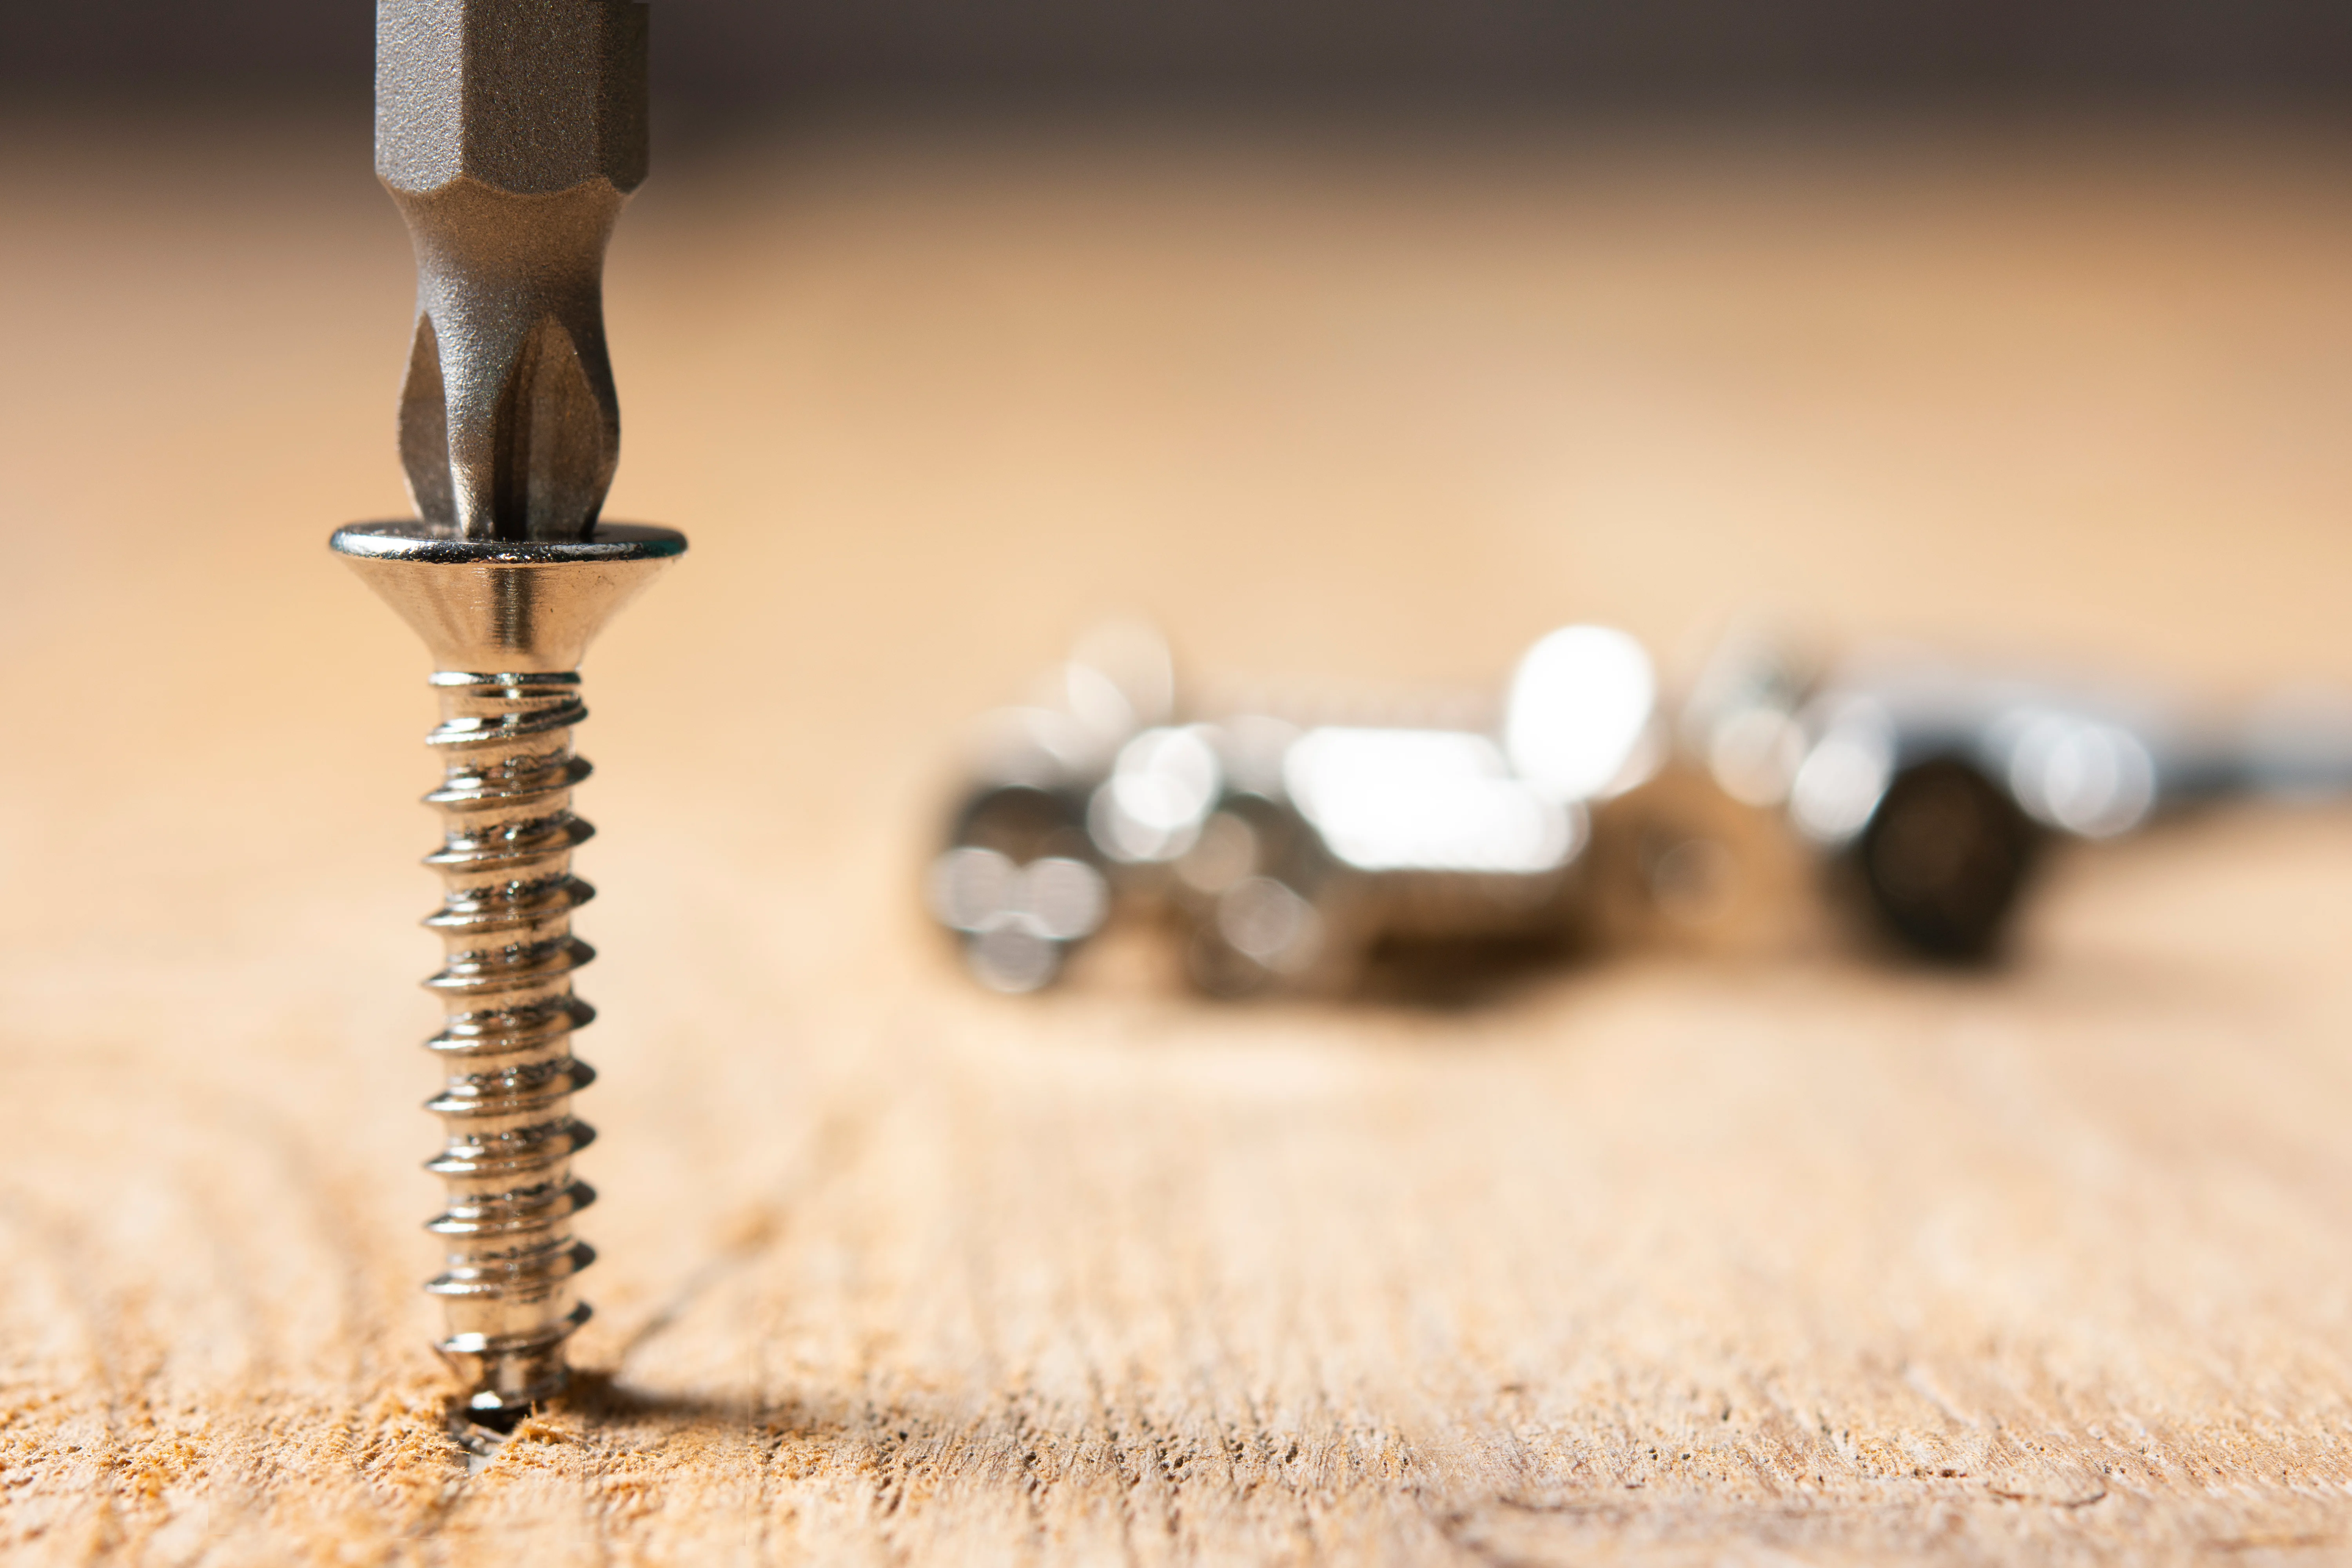
With the sole option of a hex head, installation of the screw will require a nut driver or ratchet. The right driver bit and a power drill can be used to finish the tightening of the lag screw. The hex-head lag screw is designed that way because hex-headed fasteners are made to hold up in applications where a lot of torque is necessary. Lag screws have sharp lead thread points and are available in steel/zinc, stainless steel, and steel/hot dip galvanized.
Here are the steps involved in using lag screws to support heavy loads for large pieces of wood, lumber, or composite wood materials:
The right driver bit and a power drill can be used to finish tightening the lag screw if you choose not to use a wrench or ratchet socket. The hex-head lag screw is designed that way because hex-headed fasteners are made to hold up in applications where a lot of torque is necessary.

